
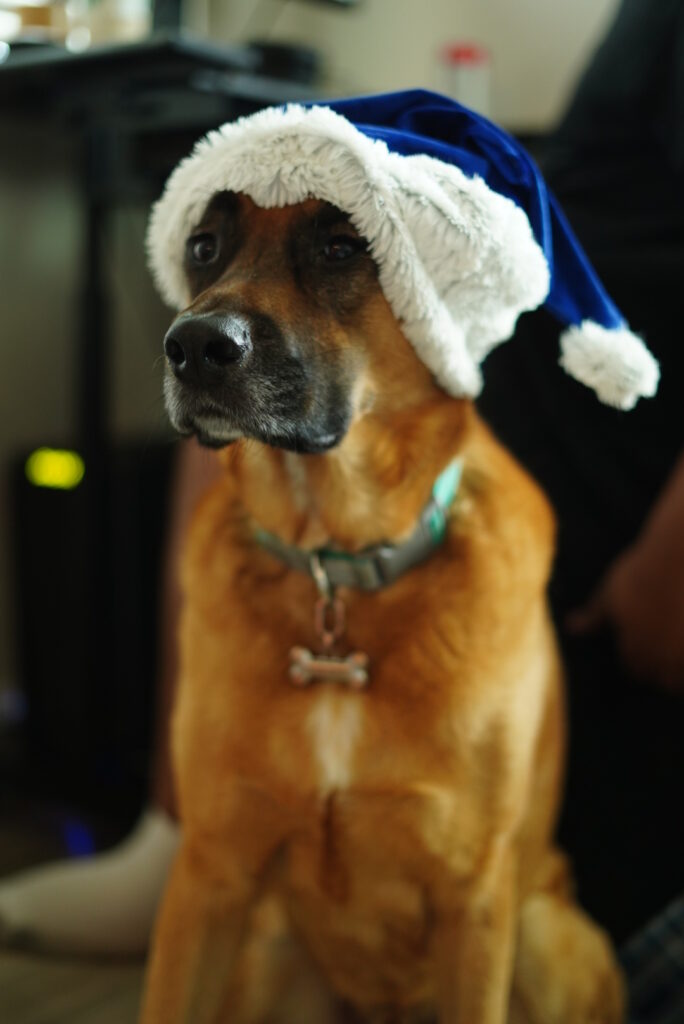
I made these Santa hats for Chris and I back in 2020—and as you can imagine, life was a little chaotic back then. Between my dad having a stroke, Chris and I getting COVID, and my thrombectomy (blood clots removed from my lungs), that season was… a lot.
Fast forward to now: I’ve had my pulmonary endarterectomy, I feel ten times better, and I’m finally easing back into blogging. I wanted to start with something lighthearted and easy—a fun project you can make with your family during the holidays.
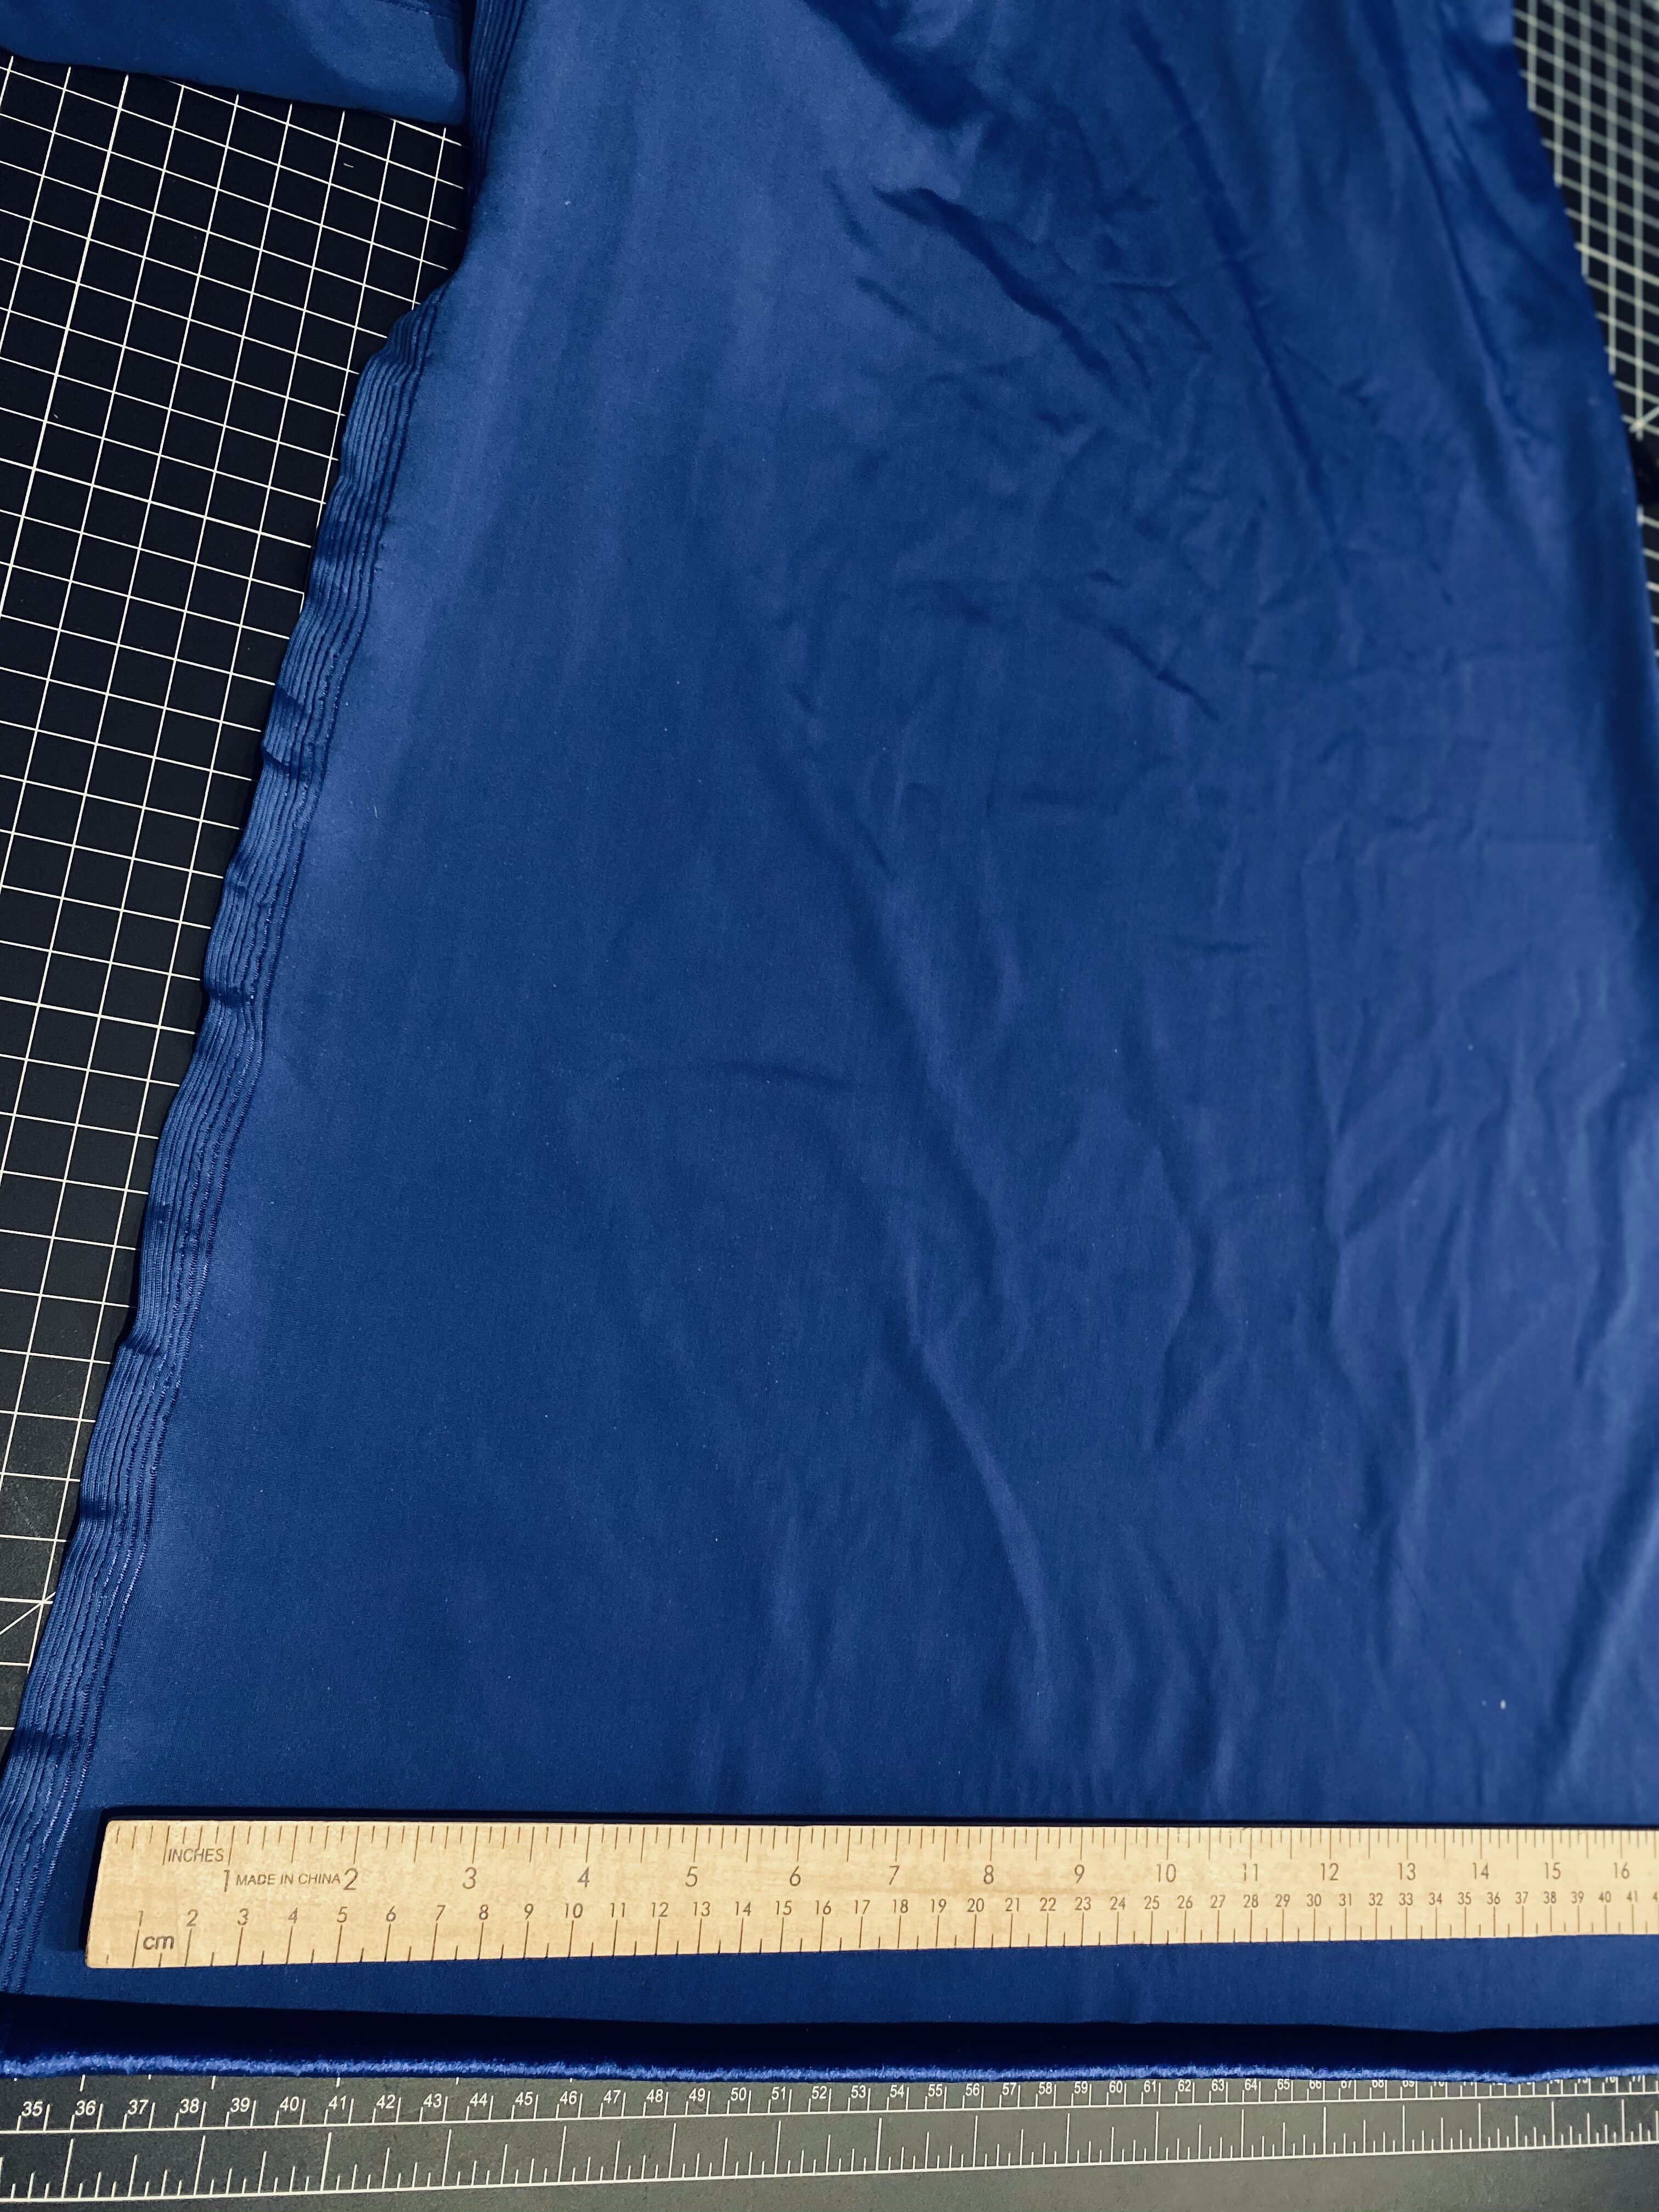
If you have leftover fleece or velvet and some faux fur lying around, this project is perfect for using up scraps.

What You’ll Need
- Fleece or velvet fabric
- Faux fur
- Cotton or fabric scraps for stuffing
- Thread
- Pins or clips
- Sewing machine
- 80/14 sewing needle (for faux fur)
- 70/10 HJ sewing needle (for non-stretch velvet)
- 75/11 sewing needle (for stretch velvet)
- X-Acto knife (for faux fur)
- Measuring tape
- Drafting paper for the pattern
Drafting the Santa Hat Pattern
This Santa hat uses three pattern pieces:
- Headband
- Hat cone (triangle)
- Pom-pom
Headband Pattern
- Measure the circumference of your head.
- Draw a rectangle 6 inches tall by the width of your head circumference.
- Add a 5/8” seam allowance on all sides.
- Label this piece Headband Cut 1.
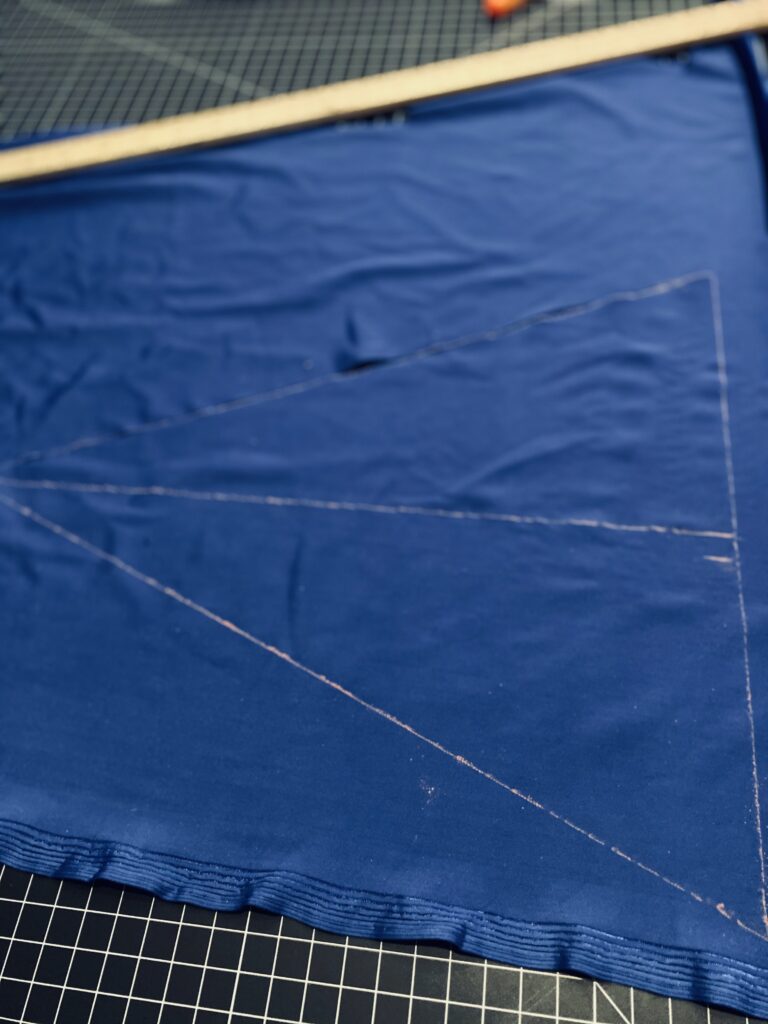
Hat Cone (Triangle) Pattern
- Draw a horizontal line equal to your head circumference and divide it in half.
- From the center of each line, draw a vertical line 15 inches long.
- Connect both ends of the bottom line to the top of the vertical line to form a tall triangle (See image below).
- Add a 5/8” seam allowance to the two long sides.
- You do not need seam allowance at the tip of the cone/hat. It should taper off to meet the middle point of the vertical line about 1.5 inches from the top.
- Label this piece Cone Cut 2.
Pom-Pom Pattern
- First, begin by tracing a circle at least 2 inches across.
- Larger circles make fuller pom-poms.
- Draw four evenly spaced 1-inch triangles around the circle.
- Label this piece Pom Pom Cut 1.
Sewing the Santa Hat
Cutting the Fabric
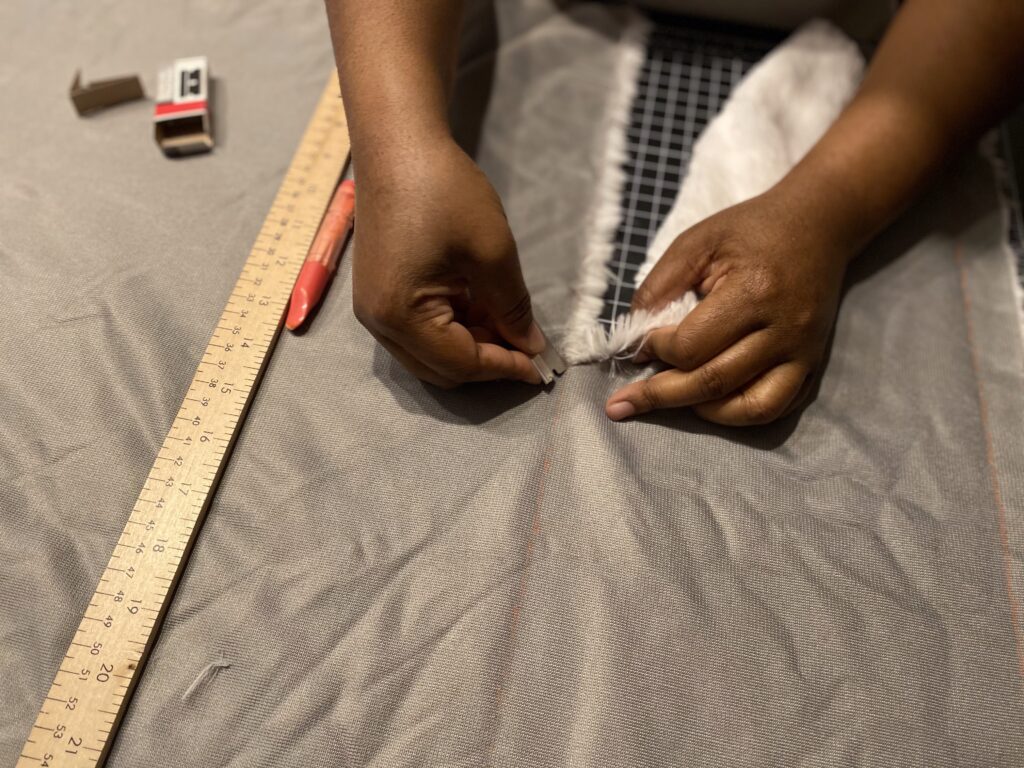
- Cut faux fur from the back, only using an X-Acto knife to reduce shedding (I used a razor, but it’s not as safe).
- Cut:
- 2 triangle pieces (fleece or velvet)
- 1 headband
- 1 pom-pom circle
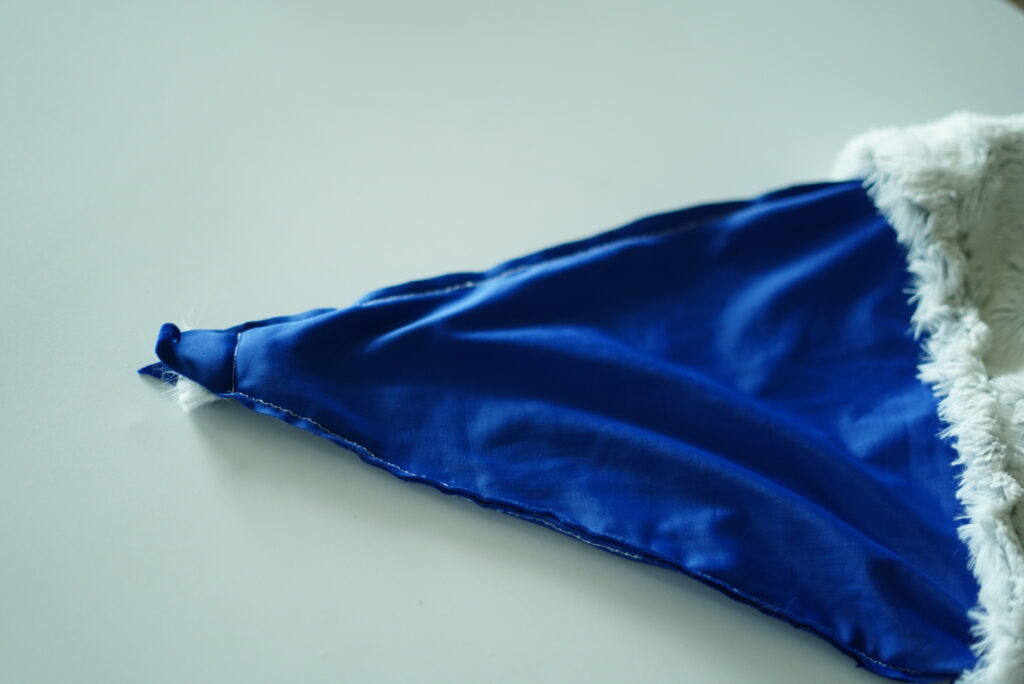
Assemble the Santa Hat Cone
- With right sides together, pin the triangle pieces along the long sides.
- Stitch the long sides using a 5/8 inch seam allowance, leaving an opening 1.5 inches down from the tip.
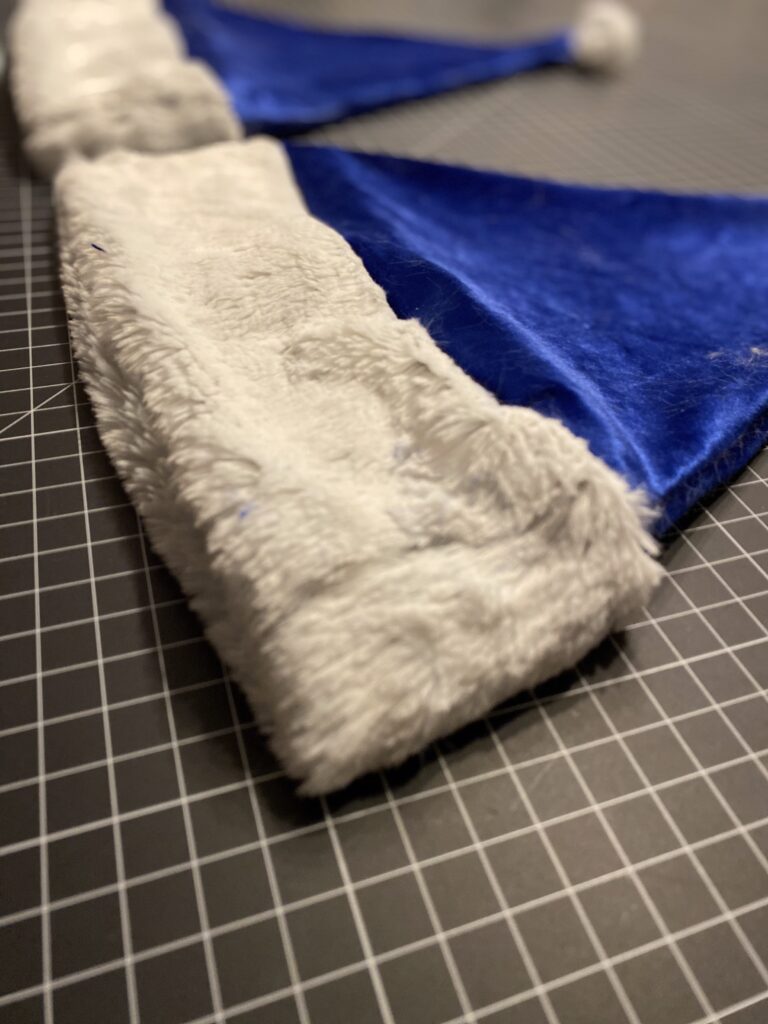
Prepare the Headband
- Fold the headband lengthwise, wrong sides together.
- Baste the raw edges together using the longest stitch setting.
Attach the Headband to the Santa Hat
- Keep the hat cone inside out.
- Then, pin the raw edge of the cone to the basted edge of the headband (The headband should be inside the cone, so that when you turn it right side out, the edge of the headband is not visible).
- Stitch using a large zigzag stitch (4.5 mm width, 2.5 mm length).

Make the Pom-Pom
- Place stuffing in the center of the circle on the wrong side.
- Pin opposite triangle tabs together.
- Stitch closed by hand or machine.
- Fluff and shape.
Attach the Pom-Pom & Finish
- With the hat still inside out, insert the pom-pom through the opening.
- Align it with the tip of the hat (pointed edges matching).
- Stitch across 1.5 inches from the top, backstitching to secure.
- Turn right side out.
- Press lightly with a pressing cloth if desired.
Share Your Santa Hats!

Don’t forget to comment below and share your Santa hat makes.
If you give permission, I’d love to feature your projects with the Introvert Stylist family on social media.